
For Visual Studio 2019
Introduction
The Circle API enables you to create applications with uncompromising data security, privacy, identity, and control. We have worked hard to make application development quick and easy to implement and are dedicated to continually improving based on your feedback. We hope this guide helps you get started quickly and look forward to facilitating your journey to complete app security!
These instructions show you how to build a simple application in Microsoft Visual Studio 2019, using the Circle API. The application creates a Circle – a trusted network of user-operated devices. You can build on this application to perform other Circle actions, including adding users and devices to Circles and sharing Topics and Messages to a Circle.
For more information about the API, see the Circle API Reference.
In the following example, you’ll follow a standard process to develop a new form-based application:
- Create a new project using the Windows Forms App template.
- Add packages and dependencies.
- Add code to initialize the application.
- Add controls to a form.
- Write initialization and handler code for the controls.
- Run the application.
You will then repeat the previous three steps to add and test another control. The example assumes you have basic familiarity with C# and Visual Studio.
1. Create a New Project
Create a new Windows Forms App project in Visual Studio.
Name the project CircleAPIDemo: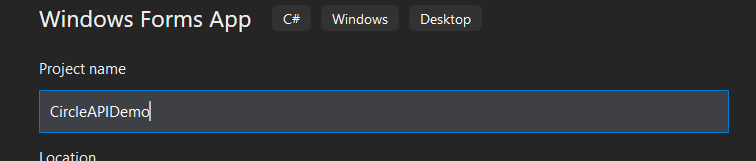
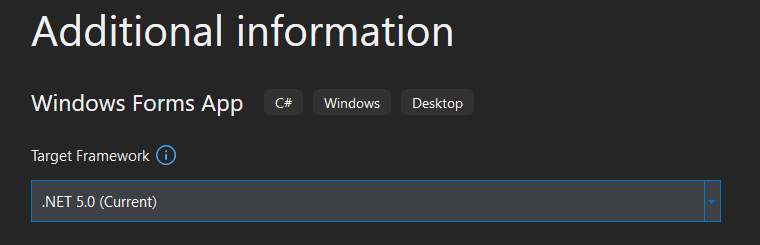
Use .NET 5.0 as the Target Framework:
2. Add Packages and Dependencies
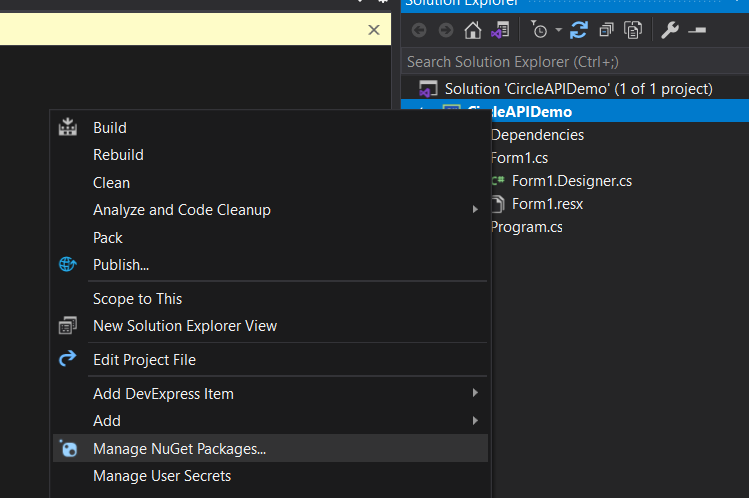
Right click on the project and select Manage NuGet Packages...:
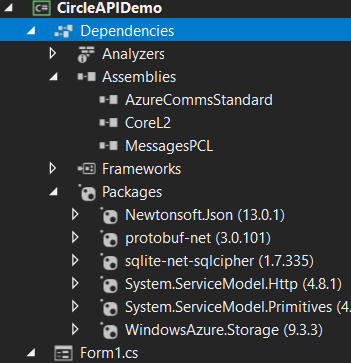
Add the following packages:
- System.ServiceModel.Primitives v4.8.1
- protobuf-net v3.0.101
- WindowsAzure.Storage v9.3.3
- sqlite-net-sqlcipher v1.7.33
- System.ServiceModel.Http v4.8.1
- Newtonsoft v13.0.1
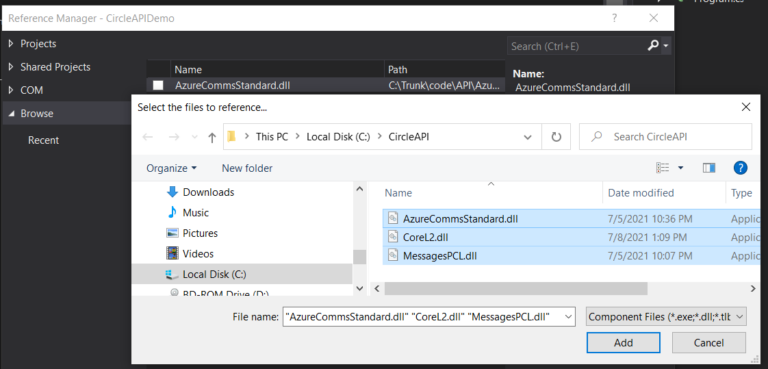
Right click on Dependencies and select Add COM Reference...
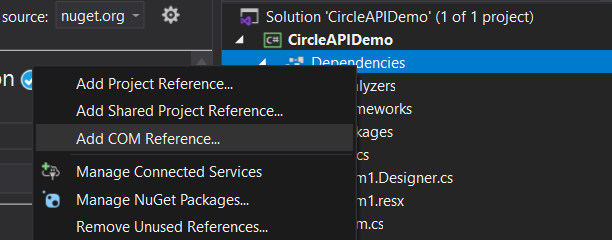
Use the browser to add references to all the CircleAPI libraries:
- CoreL2
- AzureCommsStandard
- MessagesPCL
In this example the libraries are in the C:CircleAPI folder:
Your dependencies should now look like this:
Take a moment to save the project as a template for new Circle projects.
3. Add Initialization Code
In the Form1 class, add a using CoreL2 declaration and a member variable of type CircleCoreL2:
...
using CoreL2;
namespace CircleAPIDemo
{
   3 references
   public partial class Form1 : Form
  {
     private CircleCoreL2 core = null;
...
In the Form_Load method, initialize the CoreL2 library and start the Circle engine: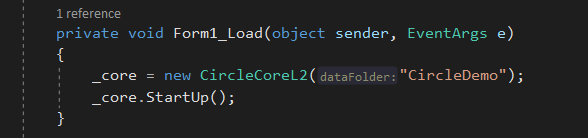
The datafolder parameter specifies where to put the encrypted Circle data for this application. This example uses the same path as the Circle application so there is actual data already there.
The Startup() method starts the Circle engine The engine discovers any Circles that already exist in the data folder, then begins processing Peer Invites, monitoring for messages, and syncing encrypted files, among other tasks. For a complete list of Circle engine tasks, see the Circle API Reference.
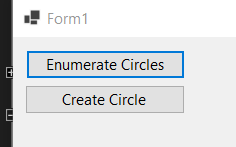
4. Add Controls
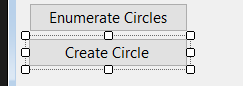
Open the visual designer and add a button to your form.
Name the button Enumerate Circles: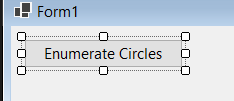
Add a Click event handler to the button:

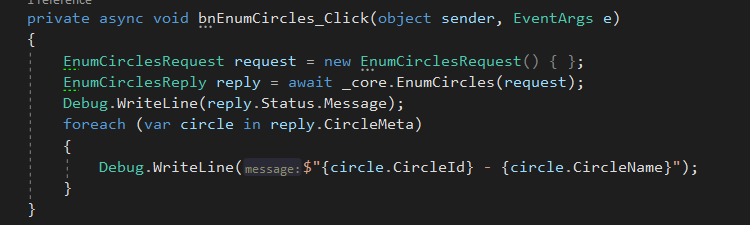
5. Add a Handler
In the handler, add the following code:
6. Run the Application
Press F5 to run the application.
When the form comes up, press the button. The output window displays ,all the Circles that the Core has discovered, loaded, and is running.
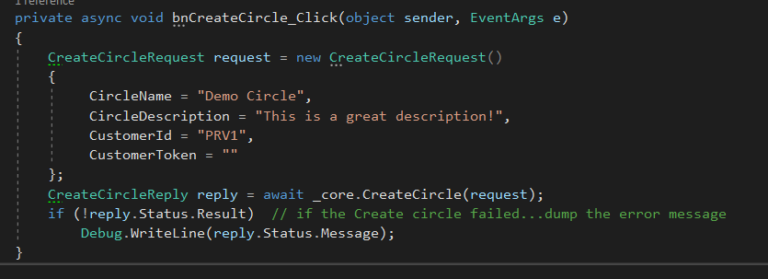
Use this code for the Create Circle event handler:
Press F5 again to run the code:.
Press the Create Circle button. Creating a new circle may take several seconds since it involves creating multiple encryption keys, setting up encrypted cloud storage and real-time messaging queues.
Once the Circle has been created (after perhaps 20 or 30 seconds), when you click the Enumerate Circles button again, the new Demo Circle appears in the list.
